How it Works
Problem: Women’s blouses gap open around the bust and sometimes use a safety pin (if they have one handy)
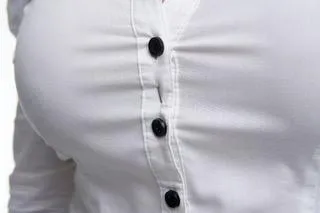
ENOUGH of THIS, makes you look unprofessional and sloppy!
Solution: Cleve-it, the button pin.
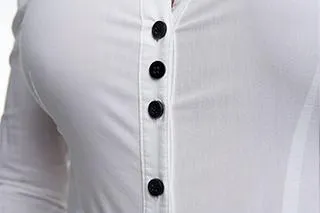
The ELEGANT Solution: Cleve-it, the button pin (no need for needle and thread)
USE your CLEVE-IT and always look “put-together”
CLEVE-IT 1
Cleave, a verb, has two very different meanings.
It can describe cutting or splitting something apart with a sharp instrument, or — oddly enough — it can describe sticking to something like glue.
TO ADHERE, CLING, STICK FAST. TO BE FAITHFUL.
WHO WE ARE
Cleve-it is for the female (big busted) very busy business woman who is always on the run, traveling a lot. EVERYONE needs a Cleve-it: As a spare button, cause you never know if one’s going to pop off your blouse or shirt!
(Secondarily it’s also for the busy business man for the belly gap or for the chest gap, if they’re super fit).
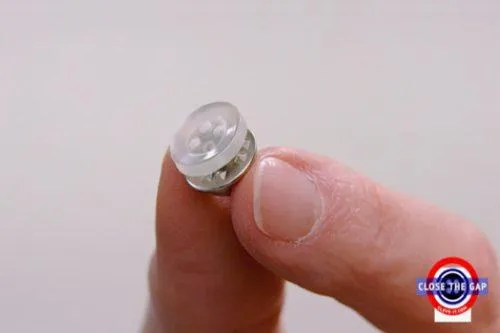
The Original Cleve-It
$9.97
THE BENEFITS
CLEVE-IT
CLOSING the GAPS on Shirts
– for women & men
Convert any women’s blouse or men’s shirt into a proper fitting attire with no potential wardrobe mal-functions or ugly safety pins.
BUY YOURS NOW
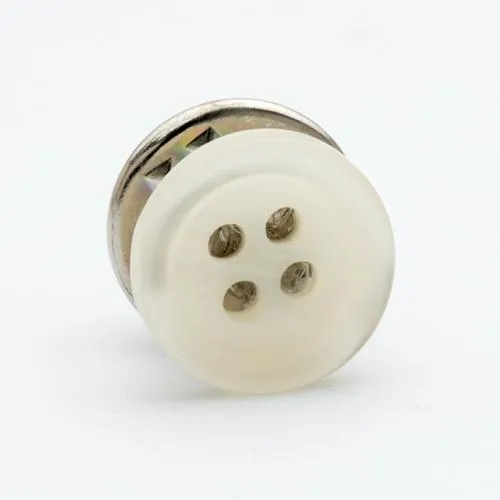
CLEVE-IT | The Button Pin